I recently had the chance to purchase and play with a 3D printer. I was a bit skeptical about the value of a 3D printer; most of the people I know who have them are building things that hold no interest to me. Like the guy who bought a 3D printer and was using it to make a better 3D printer… that’s a good meme, but not how I want to spend my weekends.
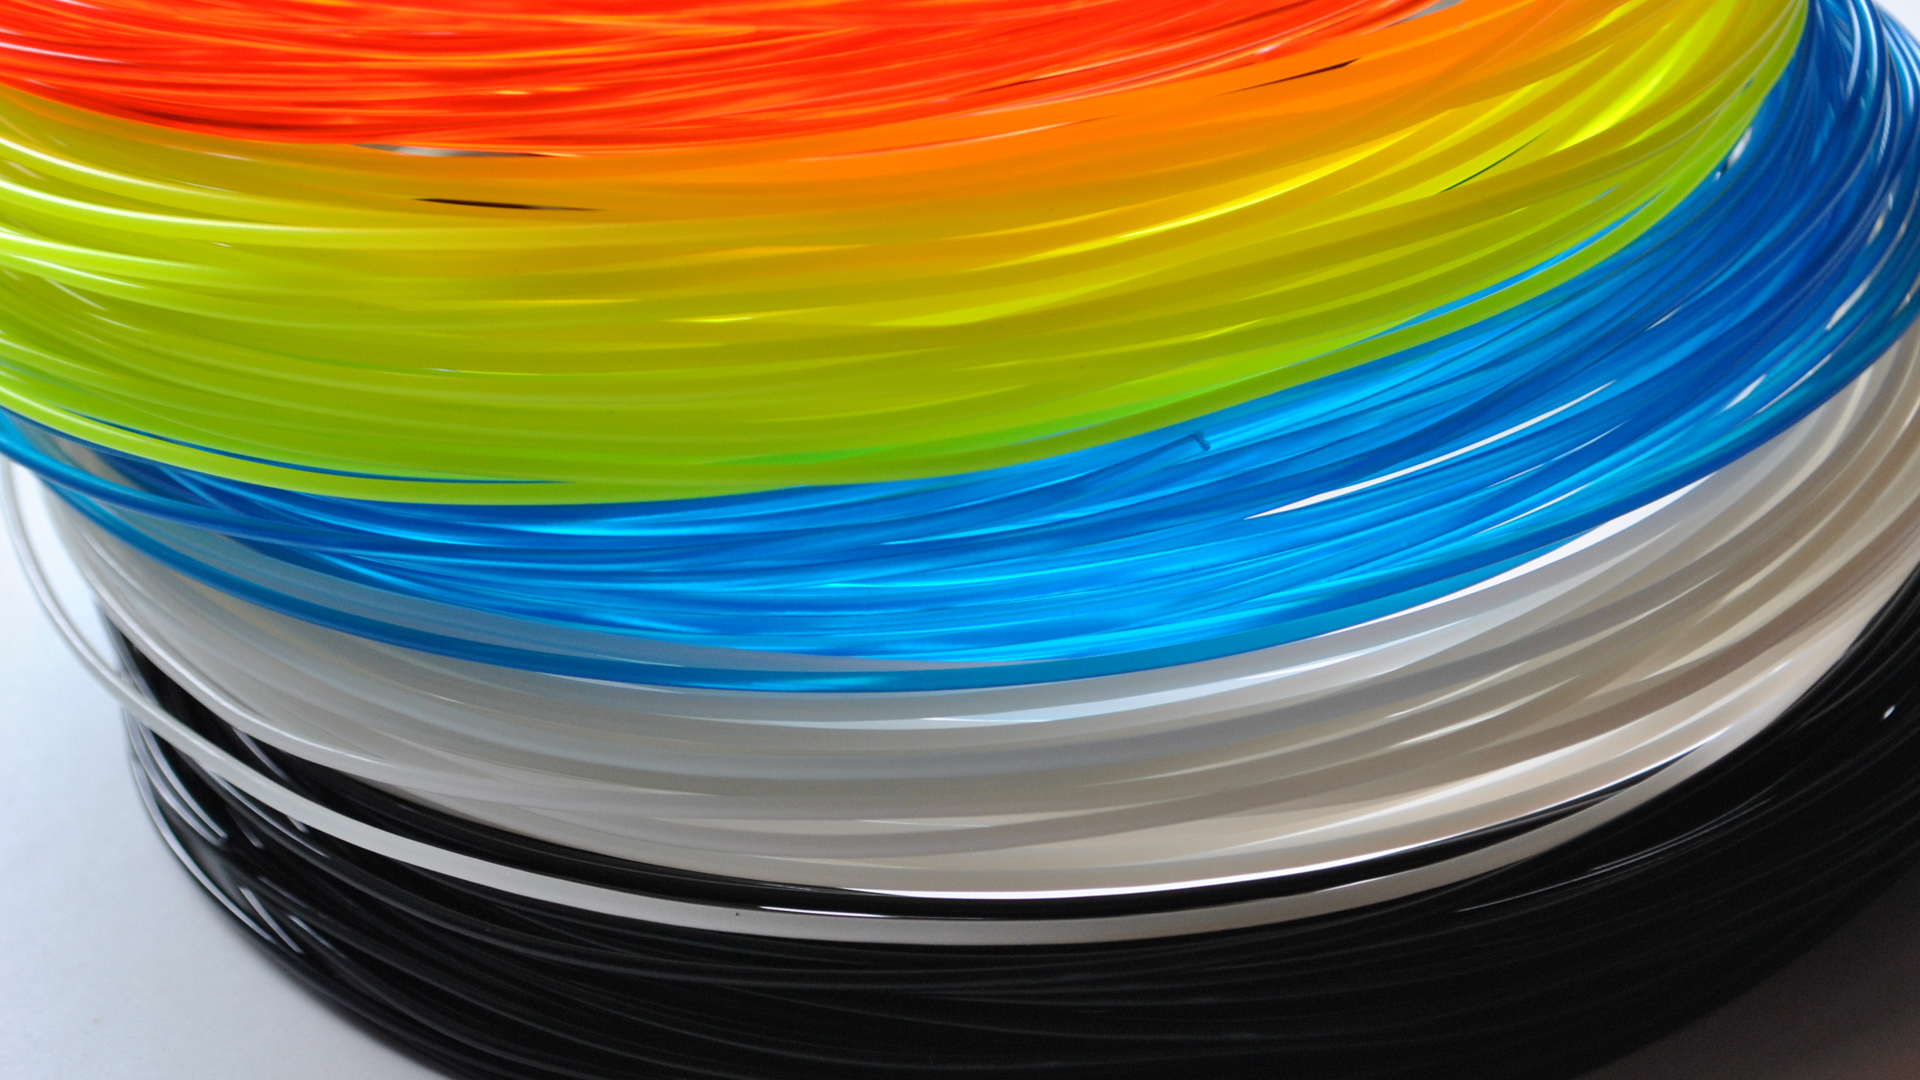
Going in at an entry level I bought the Up Mini 3D Printer and a couple spools of the filament that’s used to create the objects. Upon arriving I was skeptical by all the warnings on the box that informed you that if anything was wrong, once you threw away the box it was yours forever. This rather specific disclaimer seemed strange, but my skepticism turned to amusement when I opened it up and was presented with some heavy leather gloves, exacto knife, various cutting tools and a set of metal plates. I’ve never ordered a tech item and had it come with gloves before, so this was a nice new surprise.
The 3D Printer itself was extremely simple. There was a basic box with doors, an attachment that held the spool onto the back (which I later discovered was a printed piece itself) and then some various mechanisms inside of it to do the printing. Generally speaking, it was dead simple. A USB cord connected the printer to your computer, and like many tech items now there were no instructions other than a web link to download the manual and software. Fair enough!
The first big hitch came with the software. The newest version of the Up 3D Printer software for the Mac didn’t work. You could download it, but the ZIP file was corrupted and wouldn’t open. This held true for previous versions posted up as well, and ultimately I had to go to another site to download the second-to-latest version of the software. The software itself was clearly not localized well, and the manual once downloaded was presented with a large amount of typos and errors, the most common being the word “Operation” which was misspelled on nearly every page.
The best instructions for the printer actually came from a short YouTube video showing the process:
This video walks through the process nicely, although why in the world you would pick a 3D model called a “citrus reamer” as your demo item is beyond me. Everyone watching that video has about 30 seconds where you’re pretty sure the guy is building a really uncomfortable sex toy.
The bugginess of the software continued once in operation. It was very easy for the app to crash, forget settings, and generally make for a bad day. This increased my fears that running this thing was going to lead to the fire that burned down my office, but fortunately the mechanics of the actual device and the nature of the filament meant that it was pretty unlikely it was going to catch something on fire. The filament itself is fed through a heated nozzle that does get to extremely hot temperatures, but as it’s extruded to the plate where you’re building your item it cools instantly to harden into form. This means even if something goes haywire (and it often did) the risk of a really bad day is lessened.
The biggest mechanical flaw was in the filament itself. Fed into the system on a roller, it is incredibly easy for it to get bent or folded up, jam up the system, and pull the nozzle and heating mechanism off it’s magnetic mounts. Then you’ve got it still running and spitting out plastic filament all over the place. The unit is self-contained with a door, but your attempt to build a lego can end up looking like a loofa very easily. To solve this I went out and bought a toilet paper holder, which held the filament rolls and fed it into the printer from above, which solved the problem. This issue is a pretty big flaw though, and one that’s going to be a pain for anyone using the device.
I quickly was able to build a series of Legos, a few Batarangs, an iPhone case, an iPhone holder, and half of a cup before the errors above kicked in. I also printed a toy figure of the “Minion” from Despicable Me, but the brittle plastic caused the hands to break off nearly instantly. You need to do some post-work to remove plastic bridging that is used to build up the character, as well as sand/polish a bit. Once you know how to do this, it’s very easy.
The Up 3D printer is a good starter to learning 3D printing for under $1,000, but unless you’re both tech savvy and a bit like McGyver you’re going to have a frustrating, bad time. More expensive printers work better with less fuss, but it’s a heavy price to pay right now for something that’s really a toy.
However, having used the system now for a week it’s completely clear to me that this technology will be in everyone’s home over the next decade. The prices will fall, and the models will get more accessible and easy to use. The benefits to the 3D printer and what you could do around your home are massive, and it’s going to create some interesting disruption for companies like lego or toy makers. The value will be in the 3D model and media, not the output. What this means for cheap manufacturing is anyone’s guess, but there’s weird world where we bring back a lot of our cheap plastic and metal production from China to the US… specifically our living rooms.